How do I recover data from a crashed hard drive for free?
Crashed hard drives are recoverable!
Some people may think that it is almost impossible to repair a crashed hard drive – but this is NOT true! You can often recover data from a crashed drive, and we will give you an example of a do-it-yourself-at-home solution below. Do keep in mind this will only work on mildly damaged drives, and that it is possible to take a bad situation and make it worse without proper knowledge/tools. That being said, if you want to learn more, continue below.
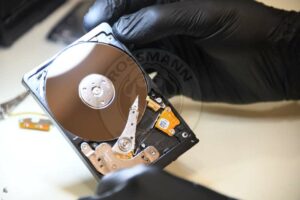
Let’s go over recovering a dying drive – at home without paying us!
A crashed hard drive can be the results of broken heads, or just bad firmware. In those cases, you will likely need a professional. However, for cases where there is minor damage or just bad sectors, it may be recoverable on your own. With a tool like DDRescue, it is possible to recover and clone parts of your data.
The tools:
In order to try and carry out a data recovery yourself, you will need systemrescuecd, a bootable Linux livecd/liveUSB that includes the tool ddrescue, a USB drive to install it to, and another hard drive connected via USB so that you can clone the faulty drive to it.
Booting into systemrescuecd:
Once you’ve created a systemrescuecd live USB, you will have to reboot your computer into the operating system. Most machines allow you to choose what drive you boot up into using F12 or F11 – on Macs, holding down the option key is how this would be done. Choose the systemrescuecd liveusb you made. Many systems may also show you the actual brand/model of the USB drive, rather than the name of the operating system at this point.
Finding your source drive:
Linux names drives in this fashion: /dev/sda, /dev/sdb, /dev/sdc, etc. We need to figure out which drive is the source and which drive is the target – there is no undo here, so proceed with caution!
First, we type this command
# fdisk -l | grep dev
WARNING: fdisk GPT support is currently new, and therefore in an experimental phase. Use at your own discretion.
Disk /dev/sda: 500.1 GB, 500107862016 bytes, 976773168 sectors
fdisk -l will show us a list of all drives. You should see one for the drive in your system – here, ours is a 500 GB drive, and then another for systemrescuecd. You can differentiate the systemrescuecd drive as it will be much smaller, the size of your USB drive that you used for systemrescuecd. If you have a machine with one internal drive, and that is the drive you are looking to recover, the drive you see here will be our source.
If you have the bad drive in your machine that you would like to recover, you now know it is /dev/sda. Now, we move onto plugging in our blank external. Do note all data on the external will be written over, so ANY DATA on the external MUST be backed up or it will be GONE!
# fdisk -l | grep dev WARNING: fdisk GPT support is currently new, and therefore in an experimental phase. Use at your own discretion. Disk /dev/sda: 500.1 GB, 500107862016 bytes, 976773168 sectors Disk /dev/sdc: 500.1 GB, 500107862016 bytes, 976773168 sectors
/dev/sdc just showed up, so we know that is our target.
Using ddrescue to make a block-for-block copy of the bad source drive.
Now, we type the following command:
ddrescue -f -n -a 5120000 /dev/sda /dev/sdc logfile.log
This command copies everything over from /dev/sda(our source drive) to /dev/sdc(our target drive), while skipping content that can't copy faster than 5 megabytes per second. If the drive is in poor shape, we want to grab the easy parts first. Once this is done, we run
ddrescue -f -d -r 3 /dev/sda /dev/sdc logfile.log
–d is for direct disc access. -r 3 menas it will go over unrecoverable sectors 3 times before giving up. The lack of -n and -a takes off the kid gloves and forces the drive to go over even difficult areas. If we are going to ask the drive to perform heavy duty work that may result in it dying, we want to do this only once we are out of the woods and have recovered all of the low hanging fruit – which the first pass has successfully done.
Didn’t work? We can help.
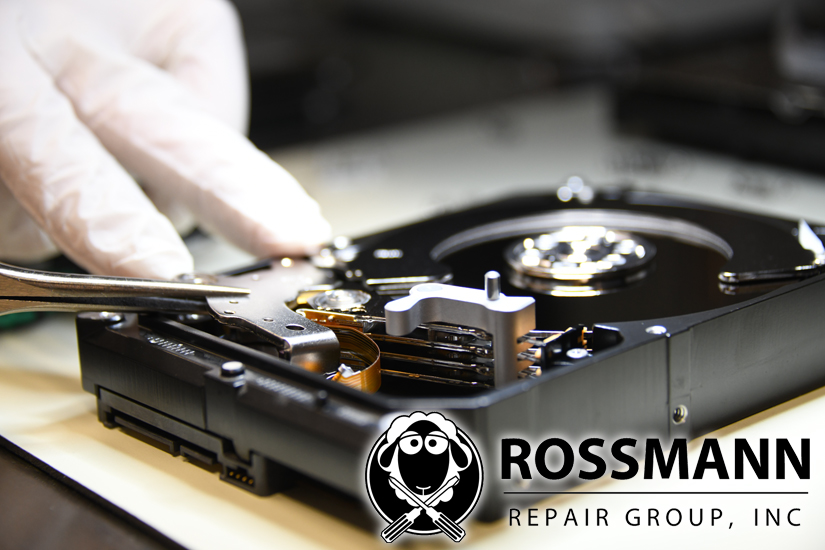
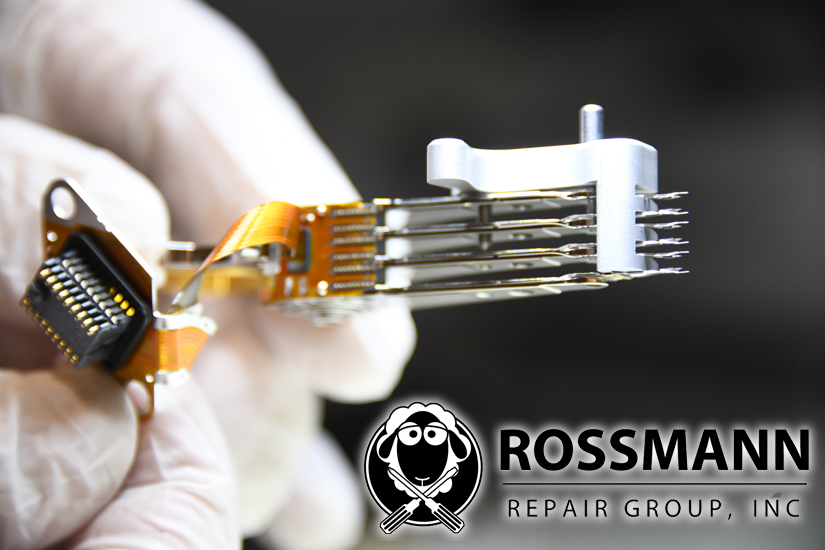
In the event that no data can be recovered using ddrescue, this may mean that one or more heads on your hard drive has failed and is no longer working correctly. But don’t worry, here at Rossmann Repair Group we have a team dedicated to data recovery who have been recovering precious data for years. Our expert technicians are able to perform head swaps inside of a clean-room on your hard drive which will make your precious data accessible so that we can recover it for you. Do keep in mind that if you have used the method demonstrated above, this does put wear & tear on the drive, which may make it more difficult for us to recover. Please only consider doing this as a hail mary if you have absolutely no intention of paying a lab in the future, because if this fails to recover your data, this process you put the drive through might make it more difficult, or even impossible for it to be recoverable at a later date. You have been warned!
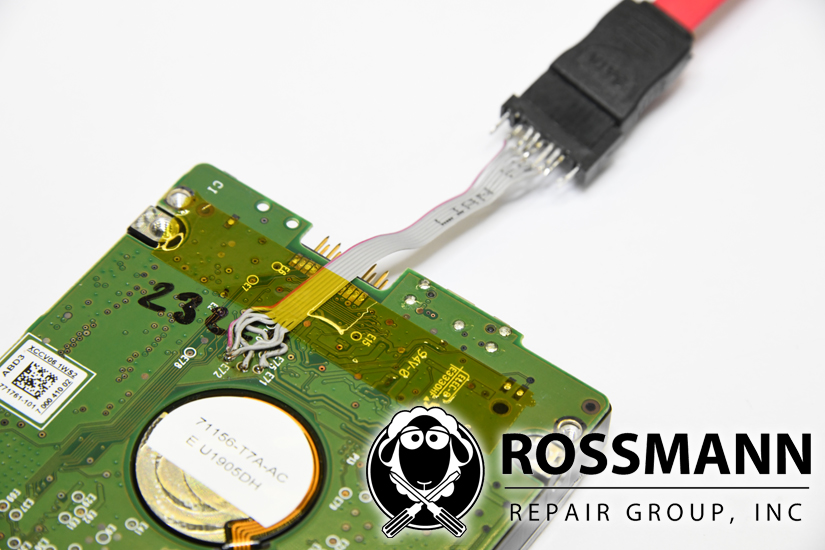
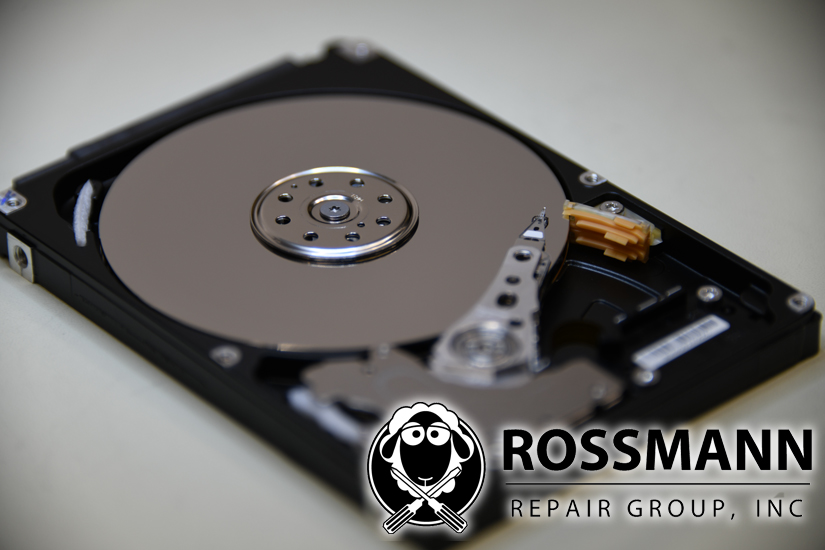
Check out a real data recovery below!
Top Reasons To Have Your Repairs Done By Us

We do all data recovery in-house at our repair workshop location.
Our pricing is fair.
We do not pay for expensive adwords & affiliate marketing, which is why our pricing is fair!
We provide you with a no hassle free estimate.
Get In Touch with Us
Email, Call or Walk Into Our Store. We Want to Hear From You!
"*" indicates required fields


Address
Austin, TX 78705
(347) 552-2258
OPENING HOURS
Monday-Friday – 11 AM to 7 PM
